
These shoes will be perfect with everything: from boyfriend jeans to romantic dresses. And they’re so simple and stylish, so take your old espadrilles and remake them! You’ll need espadrilles, tracing paper, pen, wooden chopsticks, adhesive and lace fabric. Trace the front and side panels of the shoes to create templates and cut out them....

Making a ponytail is the easiest way to get the hair out of the face. However, there’re tons of possibilities to make it more creative. Today we are sharing one of the looks you can make yourself that is anything but boring. It’s easy to achieve, however it looks very sleek and modern. Begin with...

If you’ve already mastered a classic winged eye makeup, it’s time to try some new twists. This double wing cat eye is really fashion-forward and worth to try. It’s not too hard to recreate, but the result is just alluring and beautiful, you’ll look like a runway rock star! First you need to sweep a...

This soap bar can be used as a facial cleanser or for a body soap. The clay is great for absorbing shine on oily skin. Prepare 1/2 cup soap base, 2 tablespoons rose water, 2 tablespoons jojoba oil, 1 tablespoon pink salt, 1-2 tablespoons pink clay. Cut soap base into cubes and melt them in...

In winter our skin might get dull and not moisturized. The recipe below featuring amazing mica powder and natural oils will not only give your skin oh-so-beautiful shimmery finish but also a healthy dewy glow. Here’s the list of ingredients you need to get started: 1 tbsp organic beeswax, 2 tsp organic coconut oil, 1...

This necklace is a beautiful accessory for every monophonic pullover or shirt! Let’s make it. You’ll need leather or faux leather, jewelry glue, leather cord (1/8-inch thick), beads (2), 6mm jump rings (13), sharp scissors, jewelry pliers, toothpicks and acrylic paints. Cut out two leather ovals; each one should measure two to three inches long. Trim...

If you wanna know how to add your initials to a clutch in a colorful way, continue reading. For creating this accessory you will need faux leather/leather pouch or clutch, letter stencils, acrylic paint, paintbrush and masking tape. Using masking tape, block off sections of the pouch that you would like to paint. Securely press the...

Boho style is super popular, and this winter crown will give boho chic touches to your look, it’s perfect for any winter holiday party! Prepare faux pine branches, berries and leaves, green iron wire, hot glue, twist ties, scissors. Measure the wire around your head, making it go two times around and leaving a small...
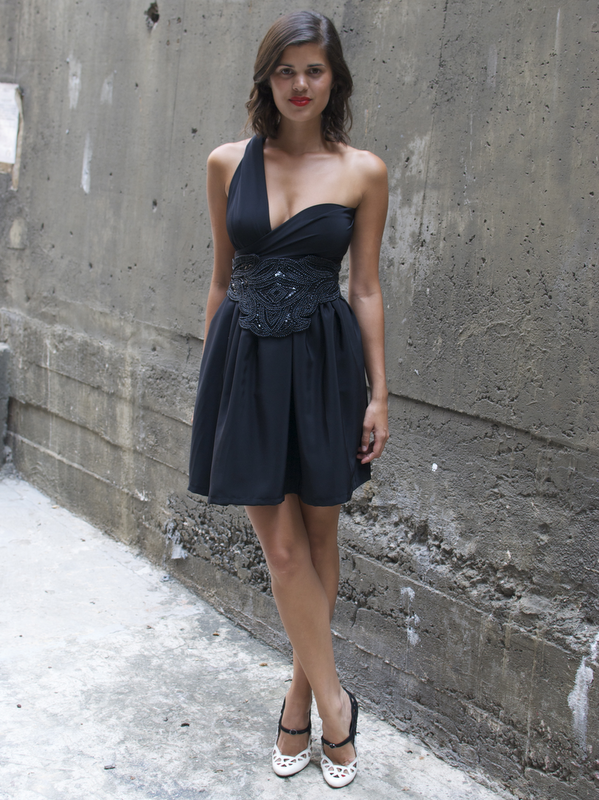
A few days are left before Christmas and you still don’t have a party dress? Don’t panic, we’ve found a solution! This wrap mini dress looks way more sophisticated and expensive that it really is. Its style is incredibly flattering and suits pretty much any girl with any shape. And the best thing is that...

Today you can create a cozy and very original accessory for the cold days. For making this scarf you’ll need yarn, scarf, needle, thread, scissors and 10-inch-wide hard, flat object. Place the yarn along the edge of the flat object. If you are using a rectangular object, such as a book, position the yarn along...


